Vizzy turns a sentence into a moving picture: you type a prompt,
a local LLM designs a visual patch, and the native engine plays it. This
guide gets your first visual on screen and the sound
driving it — then points at everything else.
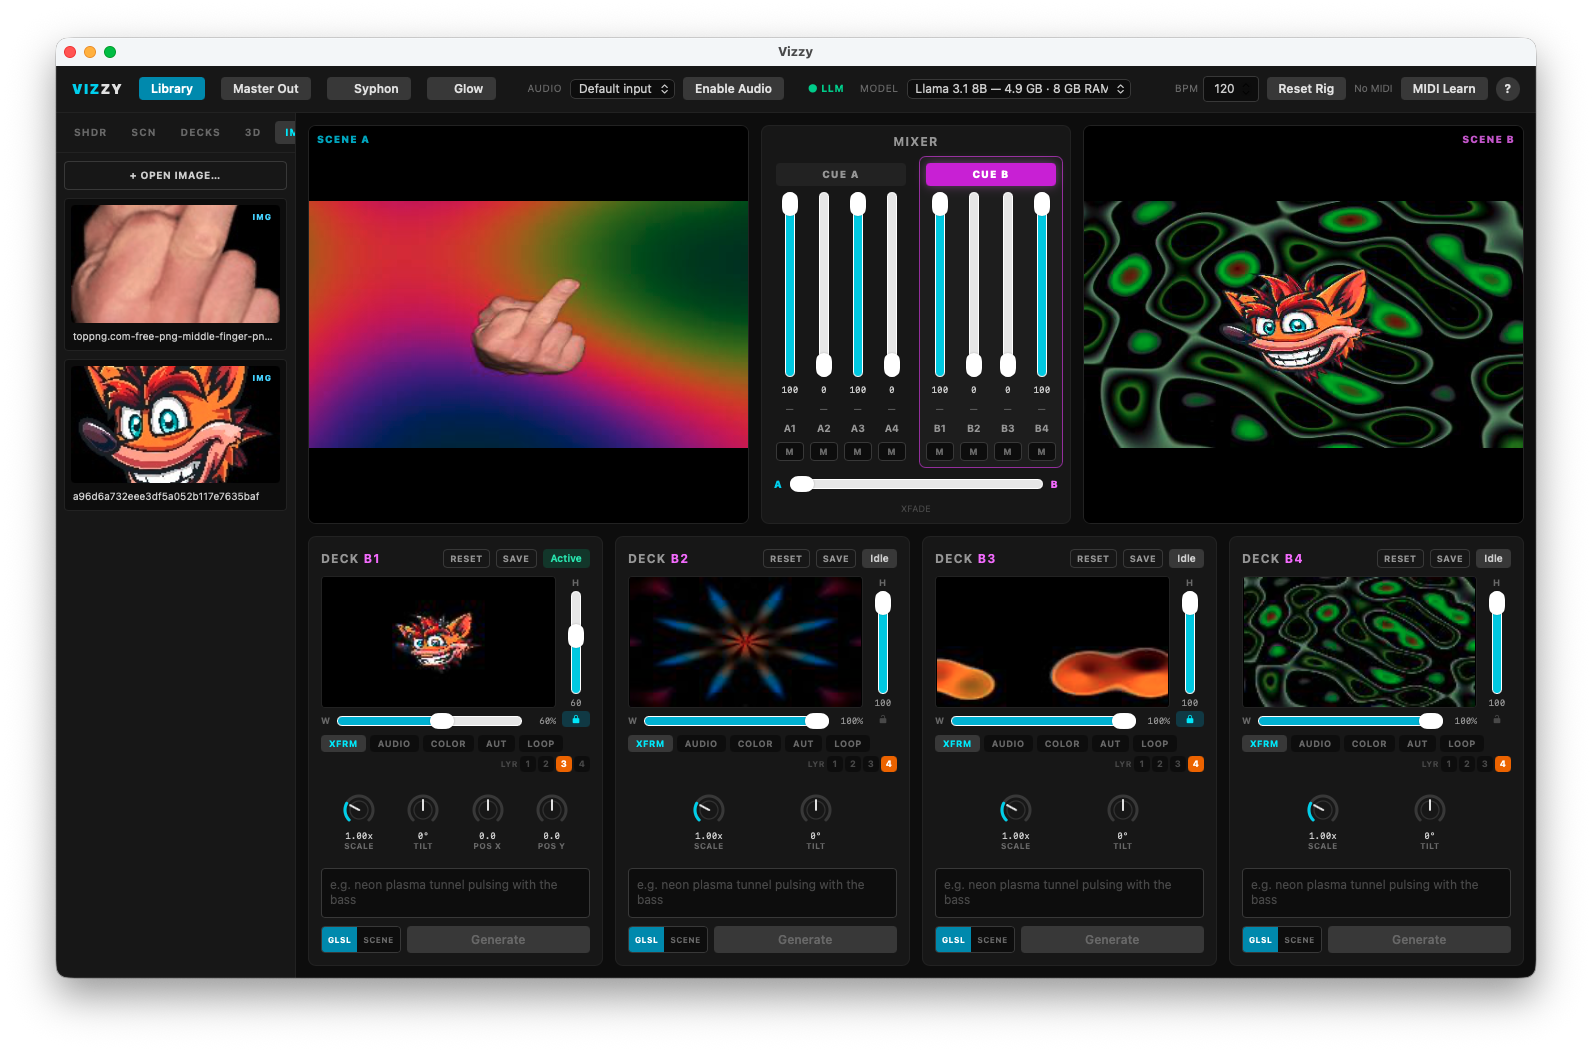
The whole instrument: the top bar, Scene A · mixer · Scene B, and the four-channel builder row. (Previews are black here only because this shot was taken without the engine running.)
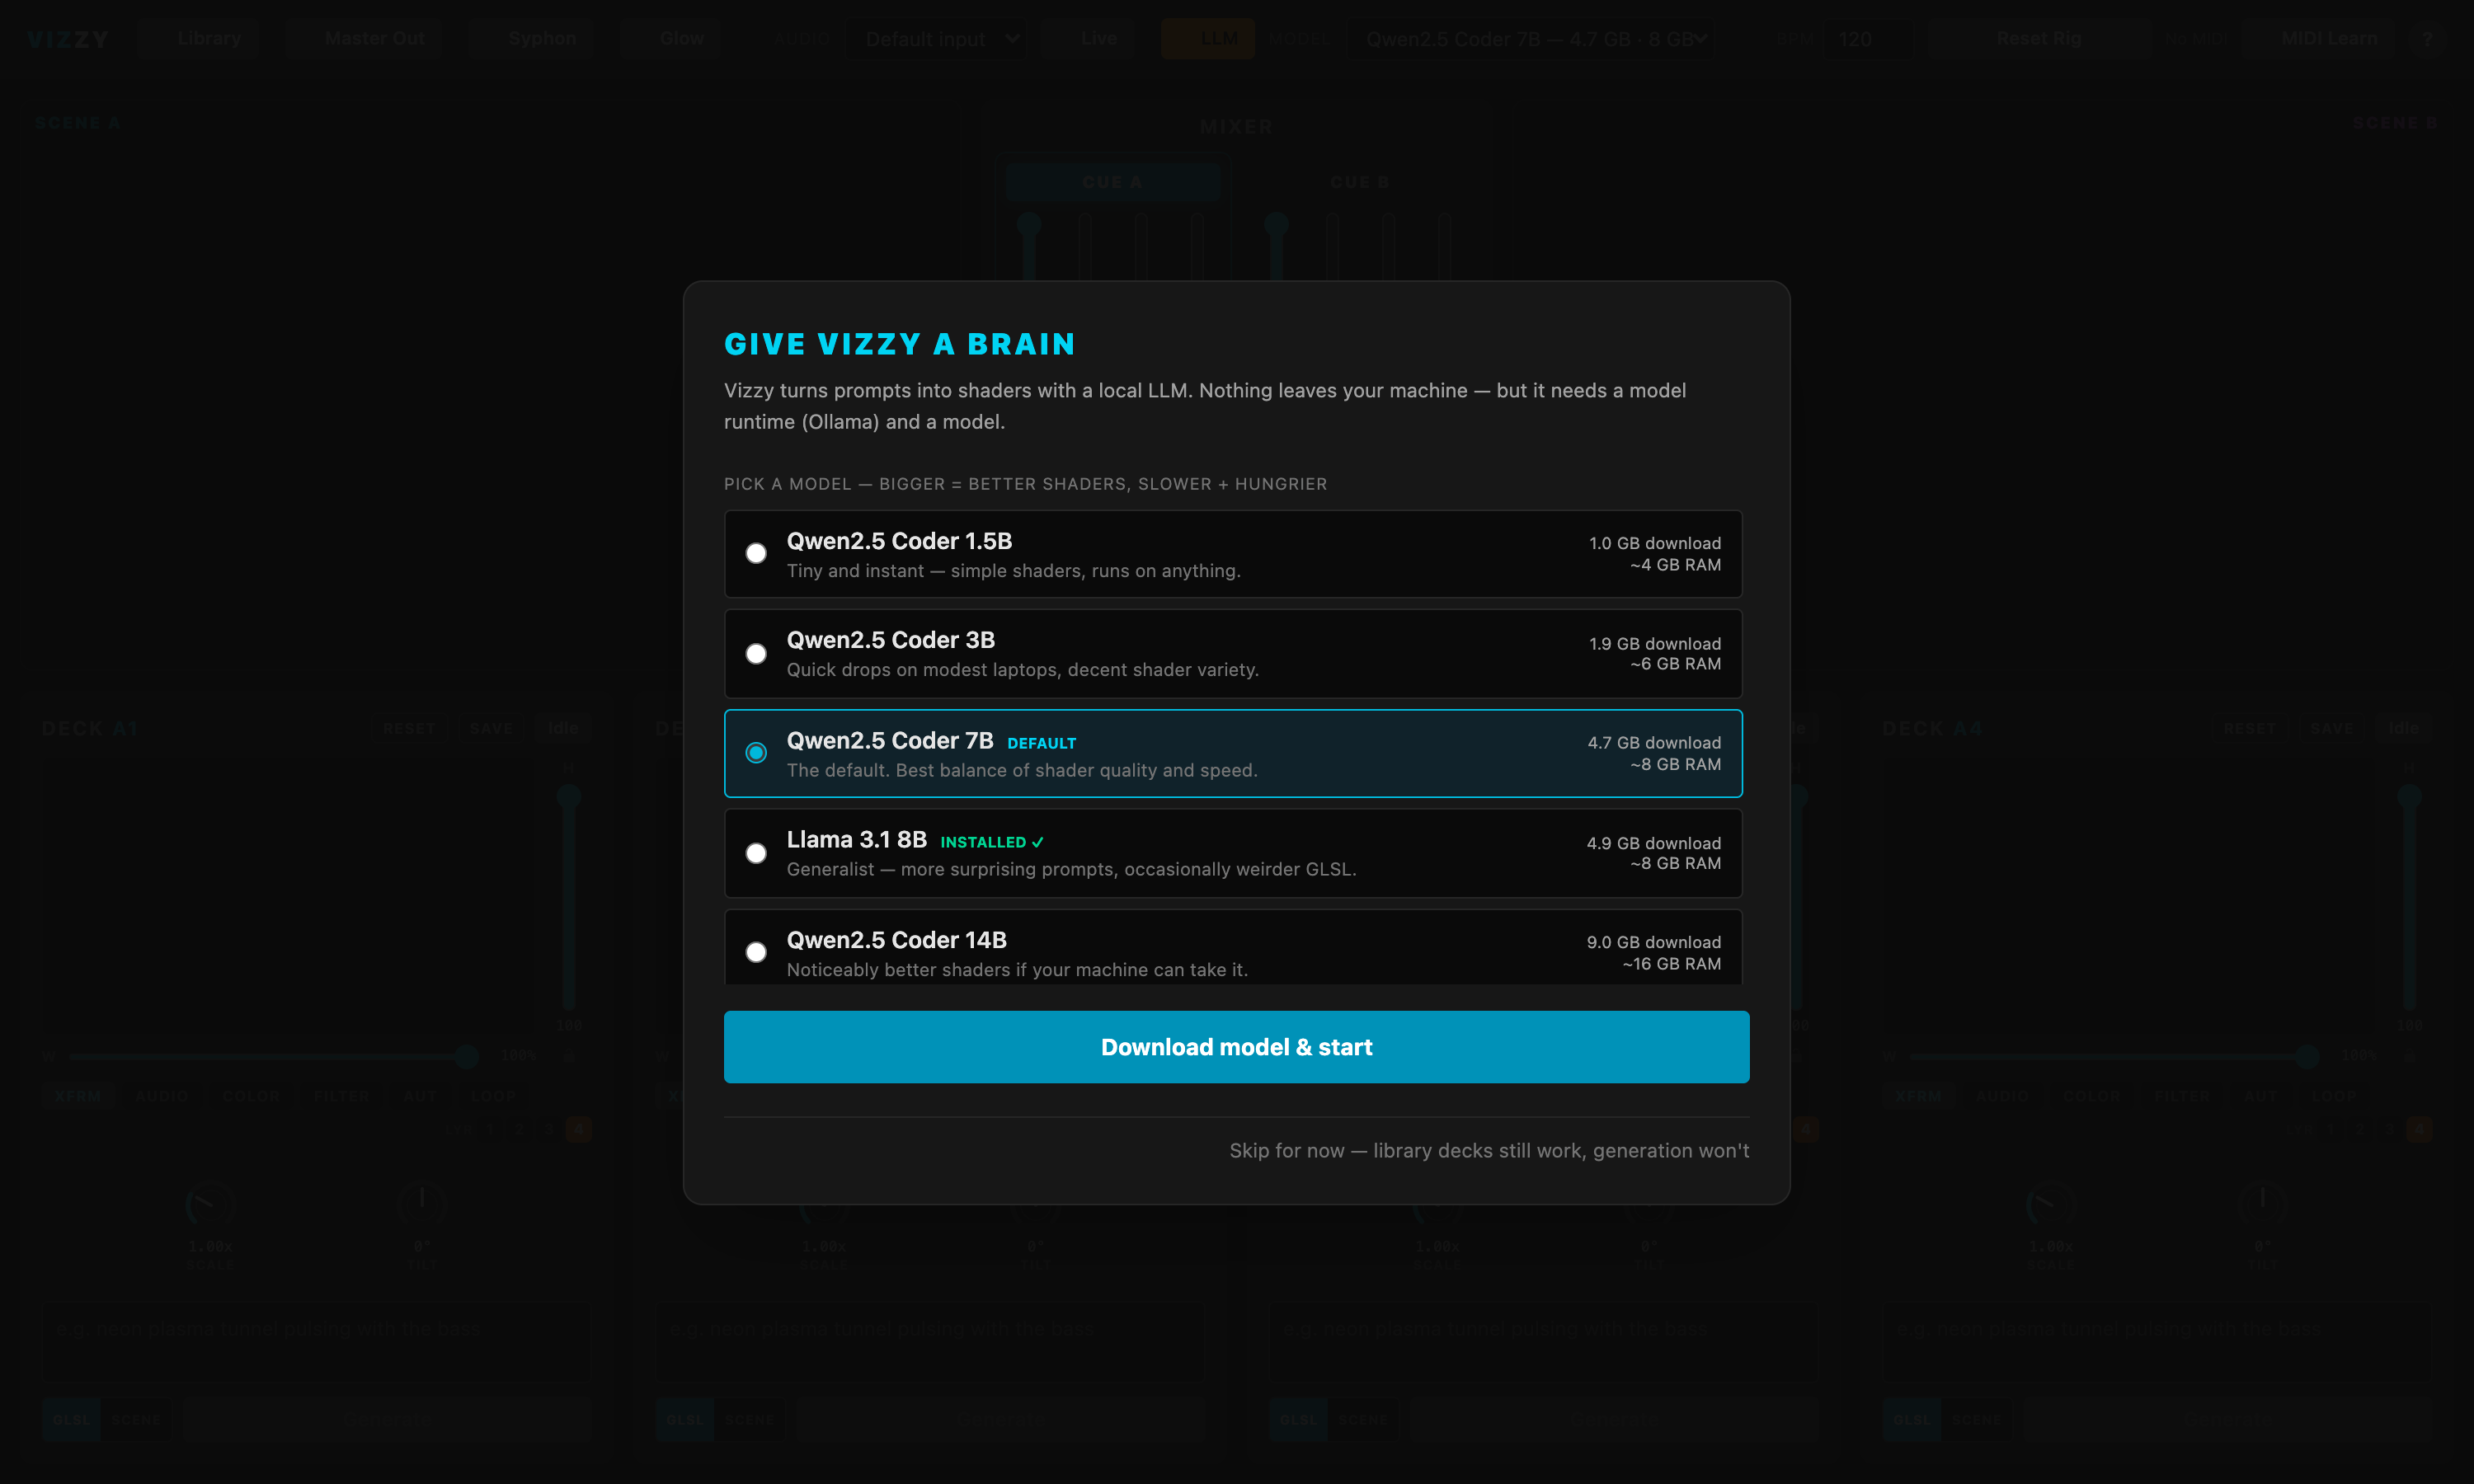
00 Give Vizzy a brain
Visuals are designed by a local LLM through
Ollama —
nothing leaves your machine. The first time you launch Vizzy, if it
can't find a model it offers to install one for you: pick from the
list and wait for the download. That's the whole setup.
Already have it sorted, or want to do it by hand? The
setup steps on the home page
cover installing Ollama and pulling a model manually. The
LLM dot in the top bar is green when you're connected.
First launch: pick a model, hit Download model & start — or Skip for now to look around (generation stays off until a model is ready).
01 Make your first visualisation
The screen is split into two live scenes, A (left) and
B (right), each with four channels. Press
CUE A so the four builder cards along the
bottom are editing Scene A's channels.
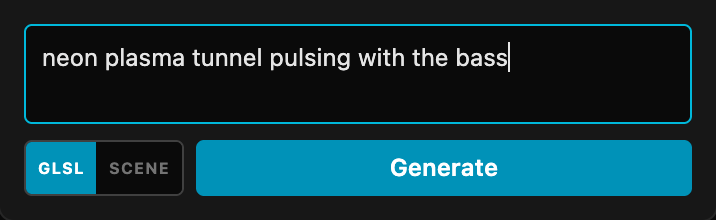
In the first card, type something into the prompt box —
neon plasma tunnel pulsing with the bass — and hit
Generate. The LLM designs a patch (a generator
+ palette + motion + audio routing); a few seconds later it appears in
that channel's preview and on the main output.
Raise the channel's fader in the mixer to bring it into the
picture (channel 1 starts up; the rest start down). Don't love it?
Edit the prompt and Generate again, or tweak SCALE, W/H,
TILT and the colour knobs on the card.
Tip: flip the little mode toggle on the card from
GLSL to SCENE
and Generate again to get a 3D fly-through (terrain or tunnel) instead
of a flat shader. You can also right-click anything in the
Library to drop it straight onto a channel.
CUE A points the builder row at Scene A.Type a prompt, pick GLSL or SCENE, hit Generate.
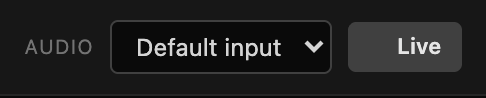
02 Turn on the sound
Find the Audio group in the top bar, pick an input from the
dropdown, then click the Live button — it
turns green and the dot lights up.
To react to whatever's playing on your computer, choose
Computer audio at the top of the list. On Windows and Linux
that captures the system output directly; on macOS it routes through a
virtual loopback device — install BlackHole (free) and the entry
picks it up automatically (it'll say so if one isn't found). Prefer to
react to the room instead? Pick your built-in mic or an audio interface.
Vizzy now measures four smoothed bands every frame —
low, mid, high and overall level — and
feeds them to every visual. Most generated patches already react out
of the box, so play some music and watch it move.
Want to steer how it reacts? Open a channel's
AUDIO tab and set BAND (which band drives it) and
AMT (how hard). Automation effects with the ♪ marker lit
follow the same routing.
No reaction? Check the device is actually receiving signal and
the Live dot is green. macOS will ask for
microphone permission the first time — allow it, then toggle
Live off and on.
The Audio group: choose a device, then click Live.
03 Mix the two scenes
Press CUE B and build a second look on the
right scene exactly the same way — it stays off the output until you
bring it in, so you can prep B while A is live. The
A–B crossfader at the bottom of the mixer blends the two scenes
onto the master (double-click it to snap-flip).
Each channel also has an M mute and its own fader, so within a
scene you're mixing four layers additively before the crossfade.
The A–B crossfader blends the two scenes (double-click to flip).
WHEN YOU'RE READY FOR MORE
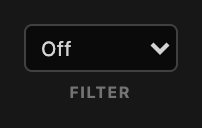
Filters
Per-channel post FX — invert, hue shift, posterize, pixelate,
scanlines, edge, RGB split, kaleido, swirl, blur, luma key, ripple —
several of which react to the music.
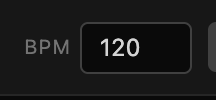
Loops & tempo
Set the global BPM in the top bar and give a channel a
beat-locked loop sequence so it pumps in time.
Library & Save
SAVE on a channel snapshots its running
visual (with a thumbnail); SAVE DECK stores all four channels of
the cued scene. Drop .glb / .gltf / .obj / .stl models and
.png / .jpg images straight onto the 3D / IMG tabs.
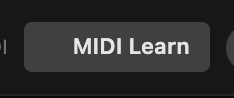
Hands-on control (MIDI)
Toggle MIDI Learn, click a fader or the
crossfader, wiggle a hardware control to bind it, then toggle Learn off
and perform.
Master Out & sharing
Master Out opens the crossfaded output in
its own window — drag it to a projector and double-click for fullscreen.
Glow adds a bloom pass, and the share toggle
publishes the master to Resolume / MadMapper / OBS over Syphon
(macOS) or Spout (Windows).
Output: Master Out, share (Syphon/Spout), Glow.Per-deck FILTER.BPM drives the loopers.MIDI Learn to bind hardware.